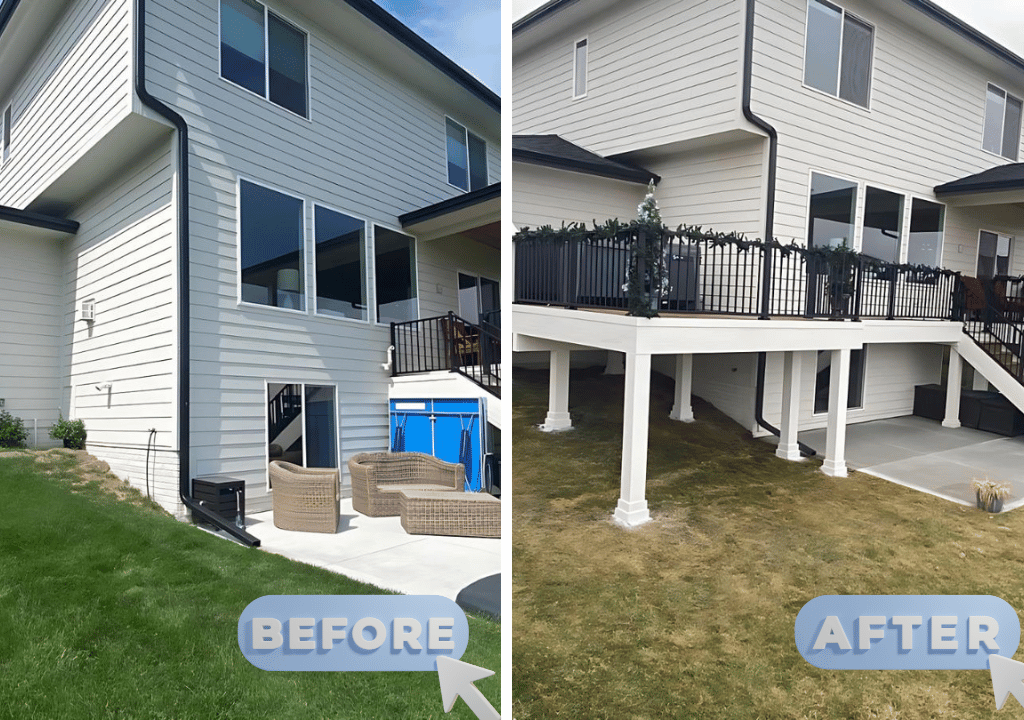
Composite decking presents an elegant and hassle-free solution to enhance your outdoor areas and relish the comfort of your home. Mastering the installation of composite decking empowers you to shape the allure of your backyard according to your preferences.
Whether you’re a proficient DIY enthusiast or seeking professional assistance, having a well-thought-out plan and design for your deck is indispensable. Let’s delve into the crucial factors and construction steps to establish your deck, irrespective of your level of involvement.
Things to Think About Before Constructing a Composite Deck:
To initiate the construction of a composite deck, begin by establishing a foundation of pressure-treated wood as the substructure, followed by the installation of the composite decking. The primary steps for decking installation encompass:
- Collecting all necessary tools and materials.
- Placing the deck boards according to the desired layout.
- Securing the deck boards firmly in place.
- Incorporating breaker boards as needed for structural enhancement.
However, before delving into the specifics of composite decking installation, it’s vital for every builder or contractor to consider several essential elements that significantly impact the overall design. These factors include layout planning, material selection, and the implementation of effective deck maintenance practices over time.
Construct the substructure.
The substructure forms the backbone of your composite deck installation. Prioritize establishing a robust substructure and frame before proceeding with the deck-building process.
Ensure you have finalized your deck design and selected your decking material before commencing the substructure construction. Different installation techniques for decking boards may be required based on your design preferences.
Special considerations apply if you are constructing over a concrete step or patio. In such cases, it’s crucial to guarantee proper drainage and airflow beneath the deck to uphold safety and durability standards, while also accounting for the final deck height irrespective of the baseline material used.
Manage your deck seams.
Controlling deck seams is essential to maintain a visually appealing and properly installed deck. These seams may appear uneven or poorly placed if not carefully managed during the installation process.
Deck seams typically occur when deck boards are installed onto the substructure without proper planning, resulting in gaps or irregular angles in the design. Employing techniques such as butt joints, diagonal decking installation, or integrating breaker boards can effectively control deck seams, ensuring they align seamlessly with your desired design.
Take into consideration temperature changes.
Various temperatures and environmental conditions can impact the requirements and aesthetics of your deck construction. In warmer climates, wood tends to expand, potentially leading to warping or swelling, which can compromise the deck’s structure. Conversely, colder climates may cause wood to contract and possibly crack.
Composite decking addresses these challenges by combining recycled plastic and wood fibers to produce a resilient material that withstands weather conditions. This composite material is fortified with strengthened wood fibers, reducing the need for extensive maintenance over time.
Create Your Dream Outdoor Space: Installing a Composite Deck
After you’ve established the foundational elements of your design and structure, whether through your DIY efforts or in collaboration with a contractor, it’s time to begin the installation process. Here’s a guide on how to set up composite decking in your backyard.
Step 1: Collect Necessary Tools and Materials
Before starting the deck-building process, ensure you have all the necessary items ticked off your checklist. Here’s a rundown of the essential materials and tools required for installing composite decking:
Checklist of Tools and Materials
Consult your manufacturer’s guidelines for overhang specifications.
- Bar clamps
- Chalk line
- Circular saw
- Drill
- Drill bits and tips
- Jigsaw
- Tape measure
- Rubber mallet
- Sawhorse
- Speed square
- Miter saw
- Pencil
- Composite deck fasteners
- Composite decking
Step 2: Place the Deck Board
During this initial phase, builders must exercise precision in the placement and installation process to ensure seamless construction thereafter. Take into account the alignment and straightness of the boards, as well as the suitability of the chosen design and color variation.
Here’s the procedure for positioning your first deck board to initiate the full installation:
- Determine your fascia installation approach – if installing the fascia beneath the decking and not flush with the top, allow the deck board to overhang the fascia by approximately 3/4″ — refer to your manufacturer for specific overhang guidelines.
- Align the first board on the deck according to its lateral positioning.
- Use a speed square and pencil to mark the locations of the posts onto the board.
- Employ a jigsaw to cut out any necessary notches and then place the board onto the deck frame.
Always consult your manufacturer for precise overhang guidelines.
Step 3: Secure Your Initial Deck Board
Now that the boards are positioned, it’s time to secure the first board in place. Ensure you use approved, color-matched composite deck screws to ensure optimal design and structural integrity.
- Pre-drill your deck boards as needed:
- 1- Decks.com recommends fastening them 1″ from the edge of the board.
- 2- Use a 1/8″ wood drill bit to drill each fastener hole, guided by your speed square for accuracy.
- Secure your deck boards to the frame using composite deck screws or plugs.
- If using composite screws, ensure they are installed flush with the top of the deck board.
- Fasten the deck board securely to the frame
Step 4: Universal Fastener Installation
After securing the first board, the following step involves installing universal fasteners to facilitate easier subsequent installations. While screws remain an option, these universal fasteners ensure a neater appearance and proper gapping.
Here’s what to do for this phase:
- Cut a 1 1/2″ wide piece from your decking board.
- Insert a clip into the groove of the deck board piece, using it as a wedge to hold the clip in position for installation.
- Using a drill, install the universal fastener while ensuring the block is held tightly against the clip to maintain precise placement. Once fasteners are installed along the full length of each board, slide the next board into place and then return to tighten all fasteners securely.
When fitting the last deck board against your house, ensure it is correctly angled between the house and the hidden fasteners.
Here’s what to do:
- Inspect the placement of your final boards.
- Utilize a pry bar to snugly fit deck boards against their clips, being careful not to over-tighten.
- Install surface fasteners (screws or plugs) against the house, following the same method used for the first deck board.
- Repeat this process at every joist.
With the fasteners secured, your deck is nearly finished. Just a few final touches are needed to ensure the overall design and safety of your construction meet expectations.
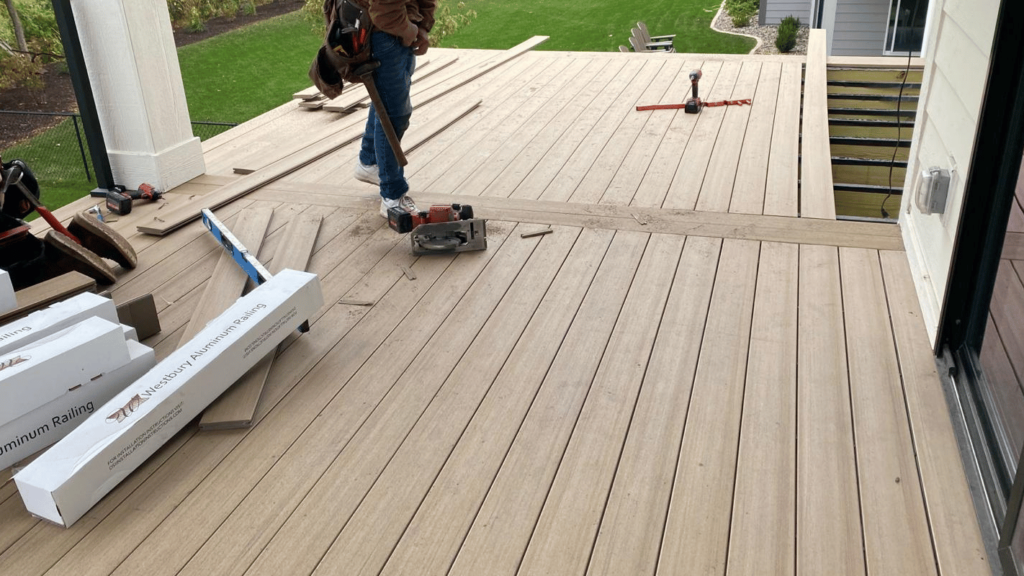
Step 5: Installing Breaker Boards
Breaker boards, as their name suggests, serve to break up the deck layout, creating individual sections within the deck. They are particularly useful for larger decks with multiple “zones” and are essential for decks wider than an individual board. Here’s how to complete this final step:
- Cut your deck boards to the precise length to accommodate the gap required for breaker board installation.
- Cut your deck boards to allow for the breaker board gap against your house. Ensure these boards have some overhang for uniform cutting when installing the breaker board.
- Snap a chalk line using the cut boards from steps 1 and 2, as well as one on the opposite side of the breaker board.
- Use a circular saw to cut along the chalk line for the breaker board placement. Adjust the saw depth carefully to avoid cutting the deck frame joist underneath.
- Position the breaker boards in the gaps you’ve cut.
- Install fasteners into your breaker board:
- Fasteners should be placed 1″ from the edge of the board, spaced every 16″ along the board.
- If using screws instead of plugs, ensure they are flush with the breaker boards and match the corresponding color.
Once the breaker boards are installed, review the structure to ensure all fasteners are correctly installed, flush with the boards, and the deck is stable.

While this guide provides an overview of the essential steps for installing composite decking, there are always additional tips and tricks to discover, whether you’re a DIY enthusiast or seeking the ideal construction partner for your outdoor project.
Schedule an appointment to speak with our helpful deck specialists so you can finally enjoy your backyard! Send us a message online or contact Ankeny Deck Specialist at 515-553-9803

